Lesson 8 | Explore the Context
Markup Lens: Context
It is now time to see how the Context lens can facilitate the set of study skills described in the previous step.
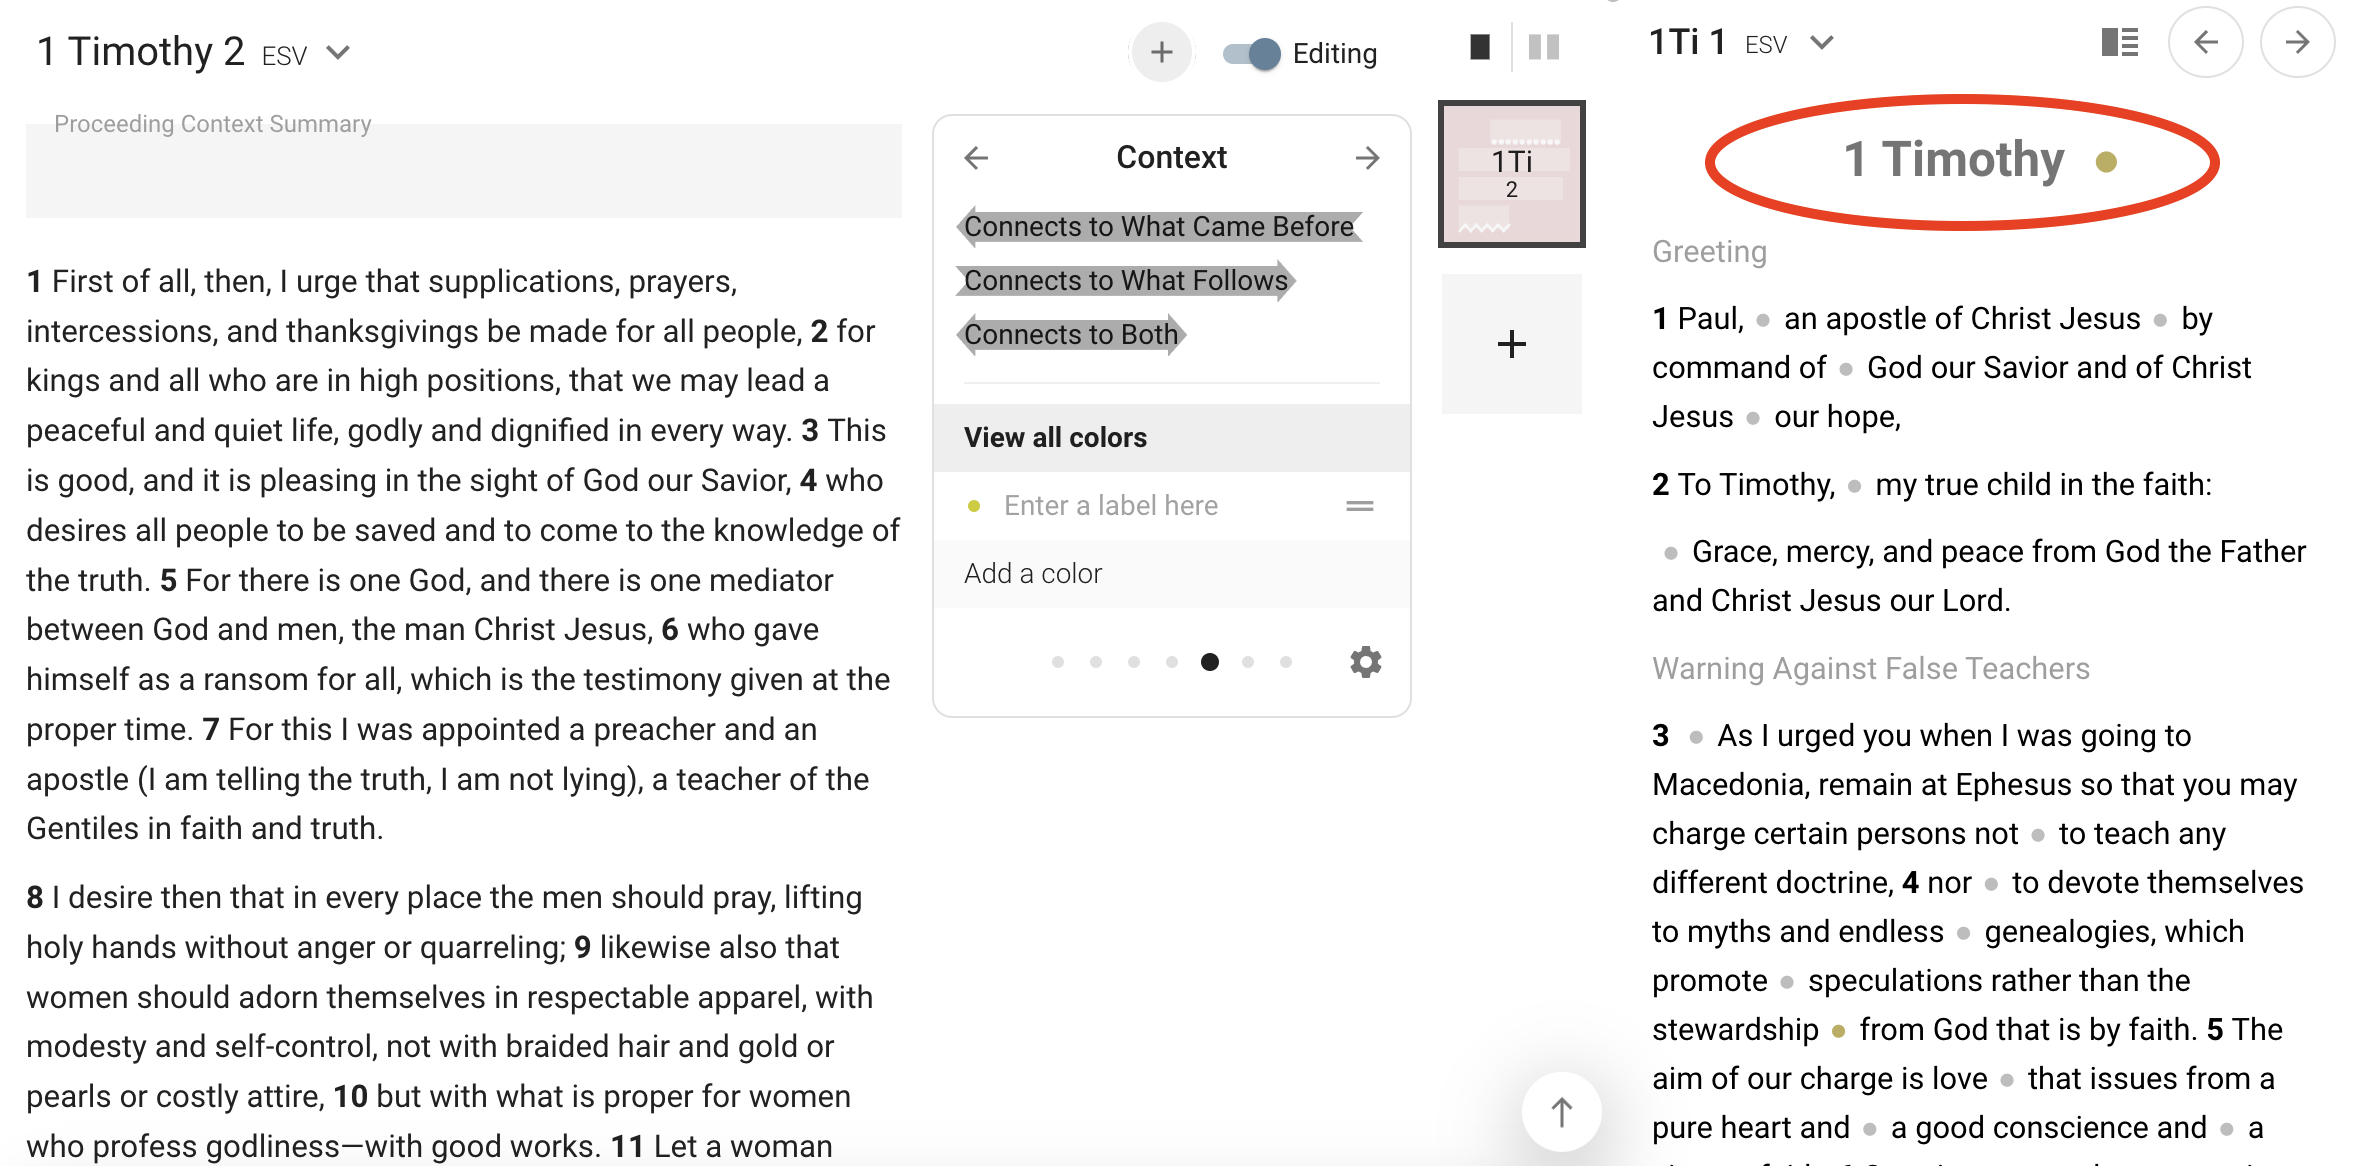
1. Open a Bible panel next to the Markup module
- This is the best way to “look both ways” to the adjacent chapters.
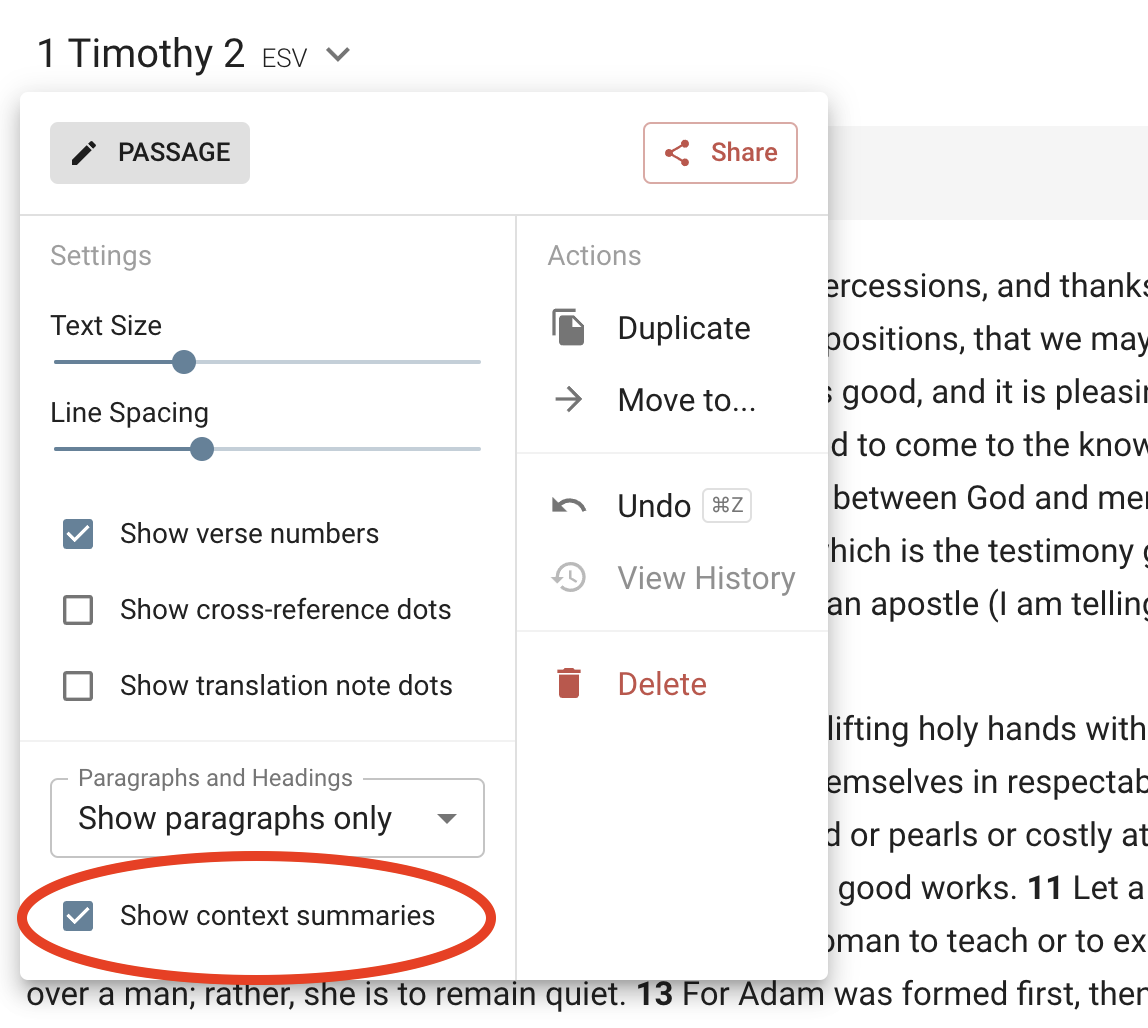
2. Turn on “Show Context Summaries”
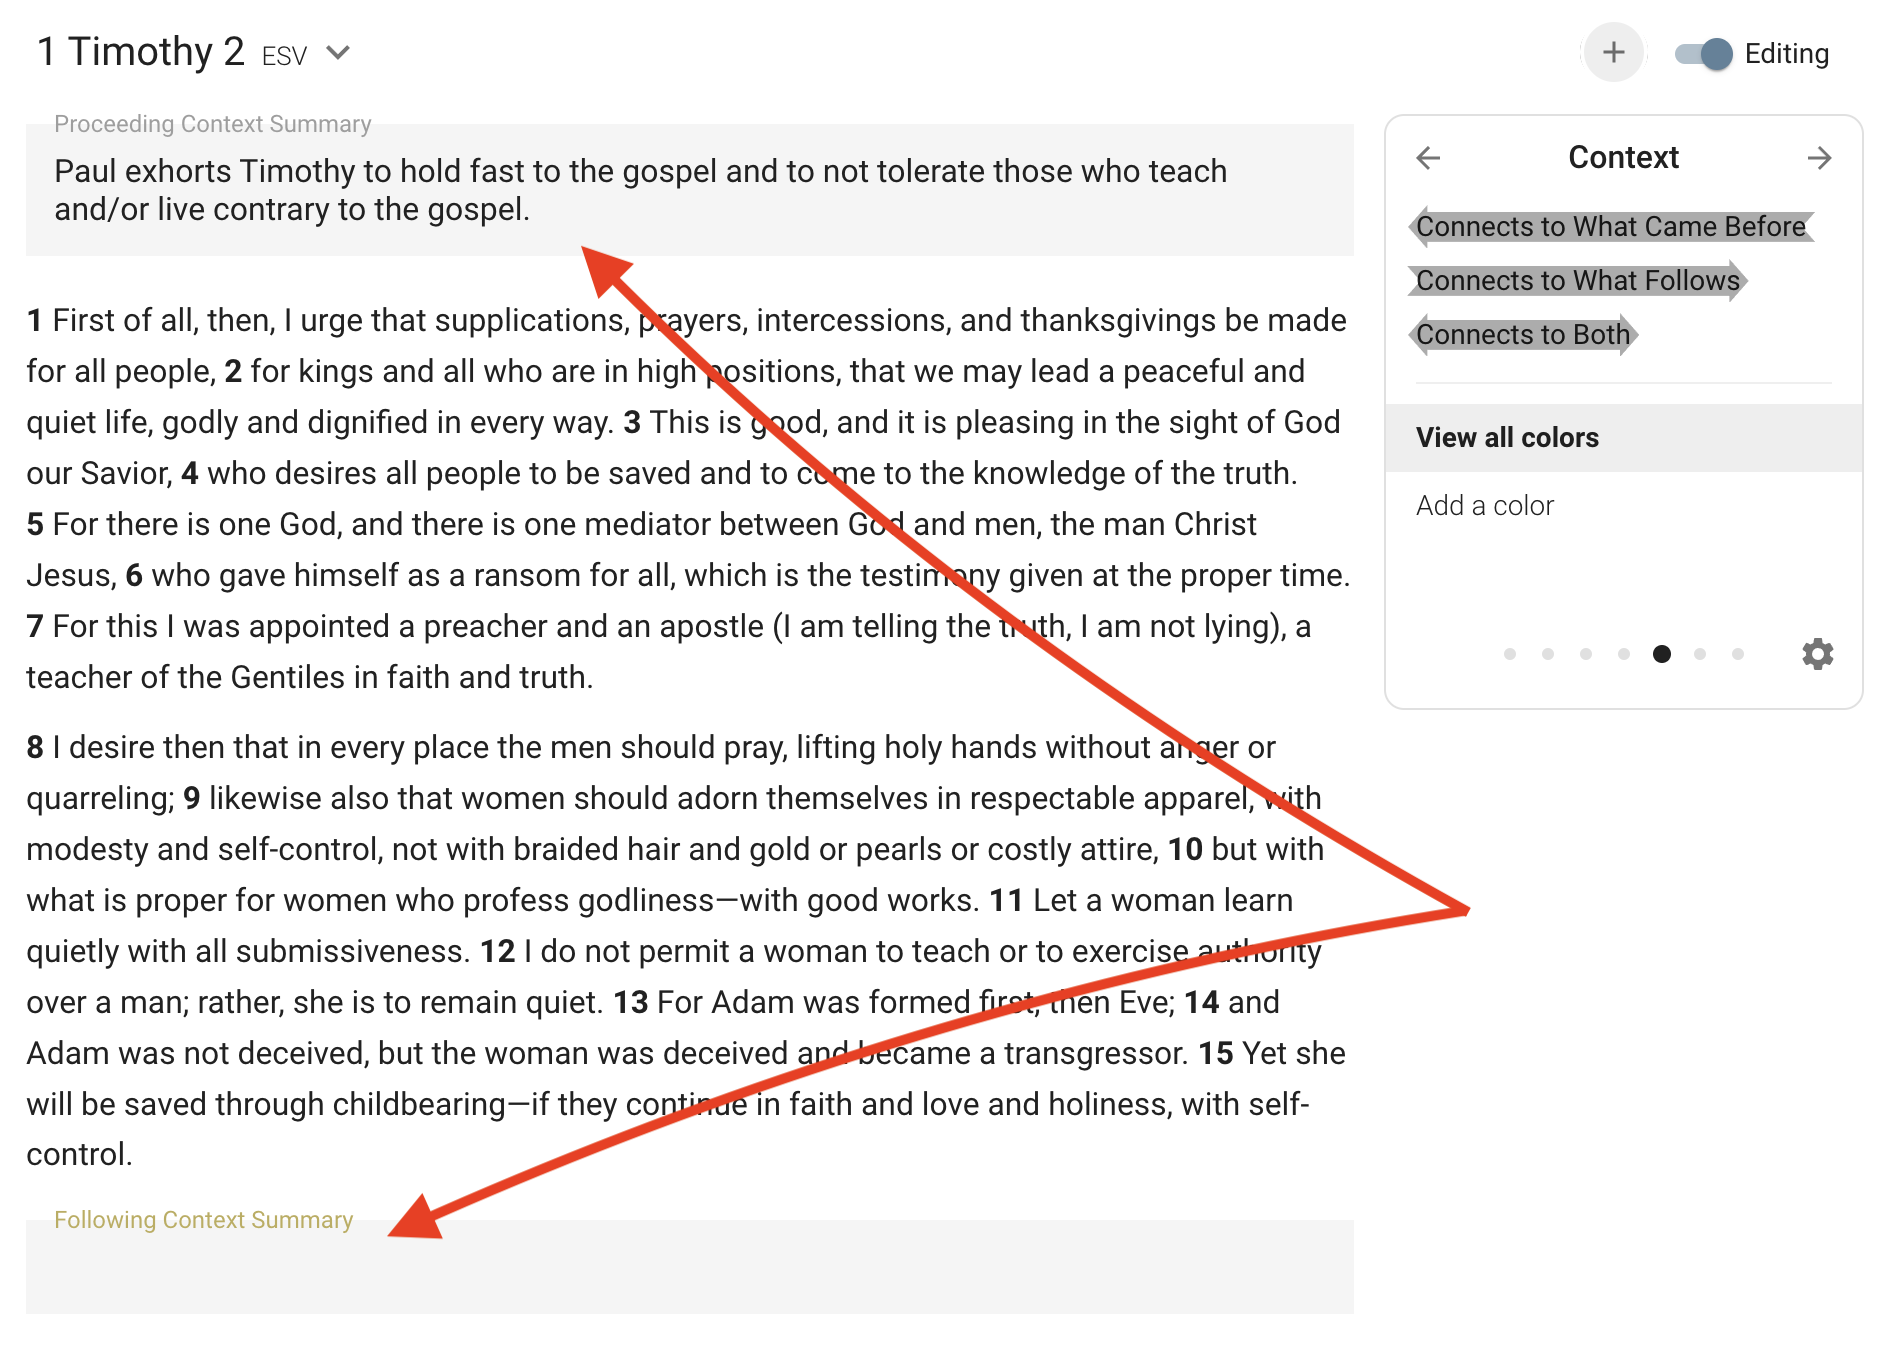
3. Add summaries of adjacent chapters
- Write a brief summary of the preceding and following chapters. Depending on the chapter, “brief” may be as short as one sentence or as long a full paragraph. The shorter you can make it, the more it will serve you.
- Ask, “Have I left out anything important?”
- Ask, “Have I captured the author’s primary burden in each chapter?”
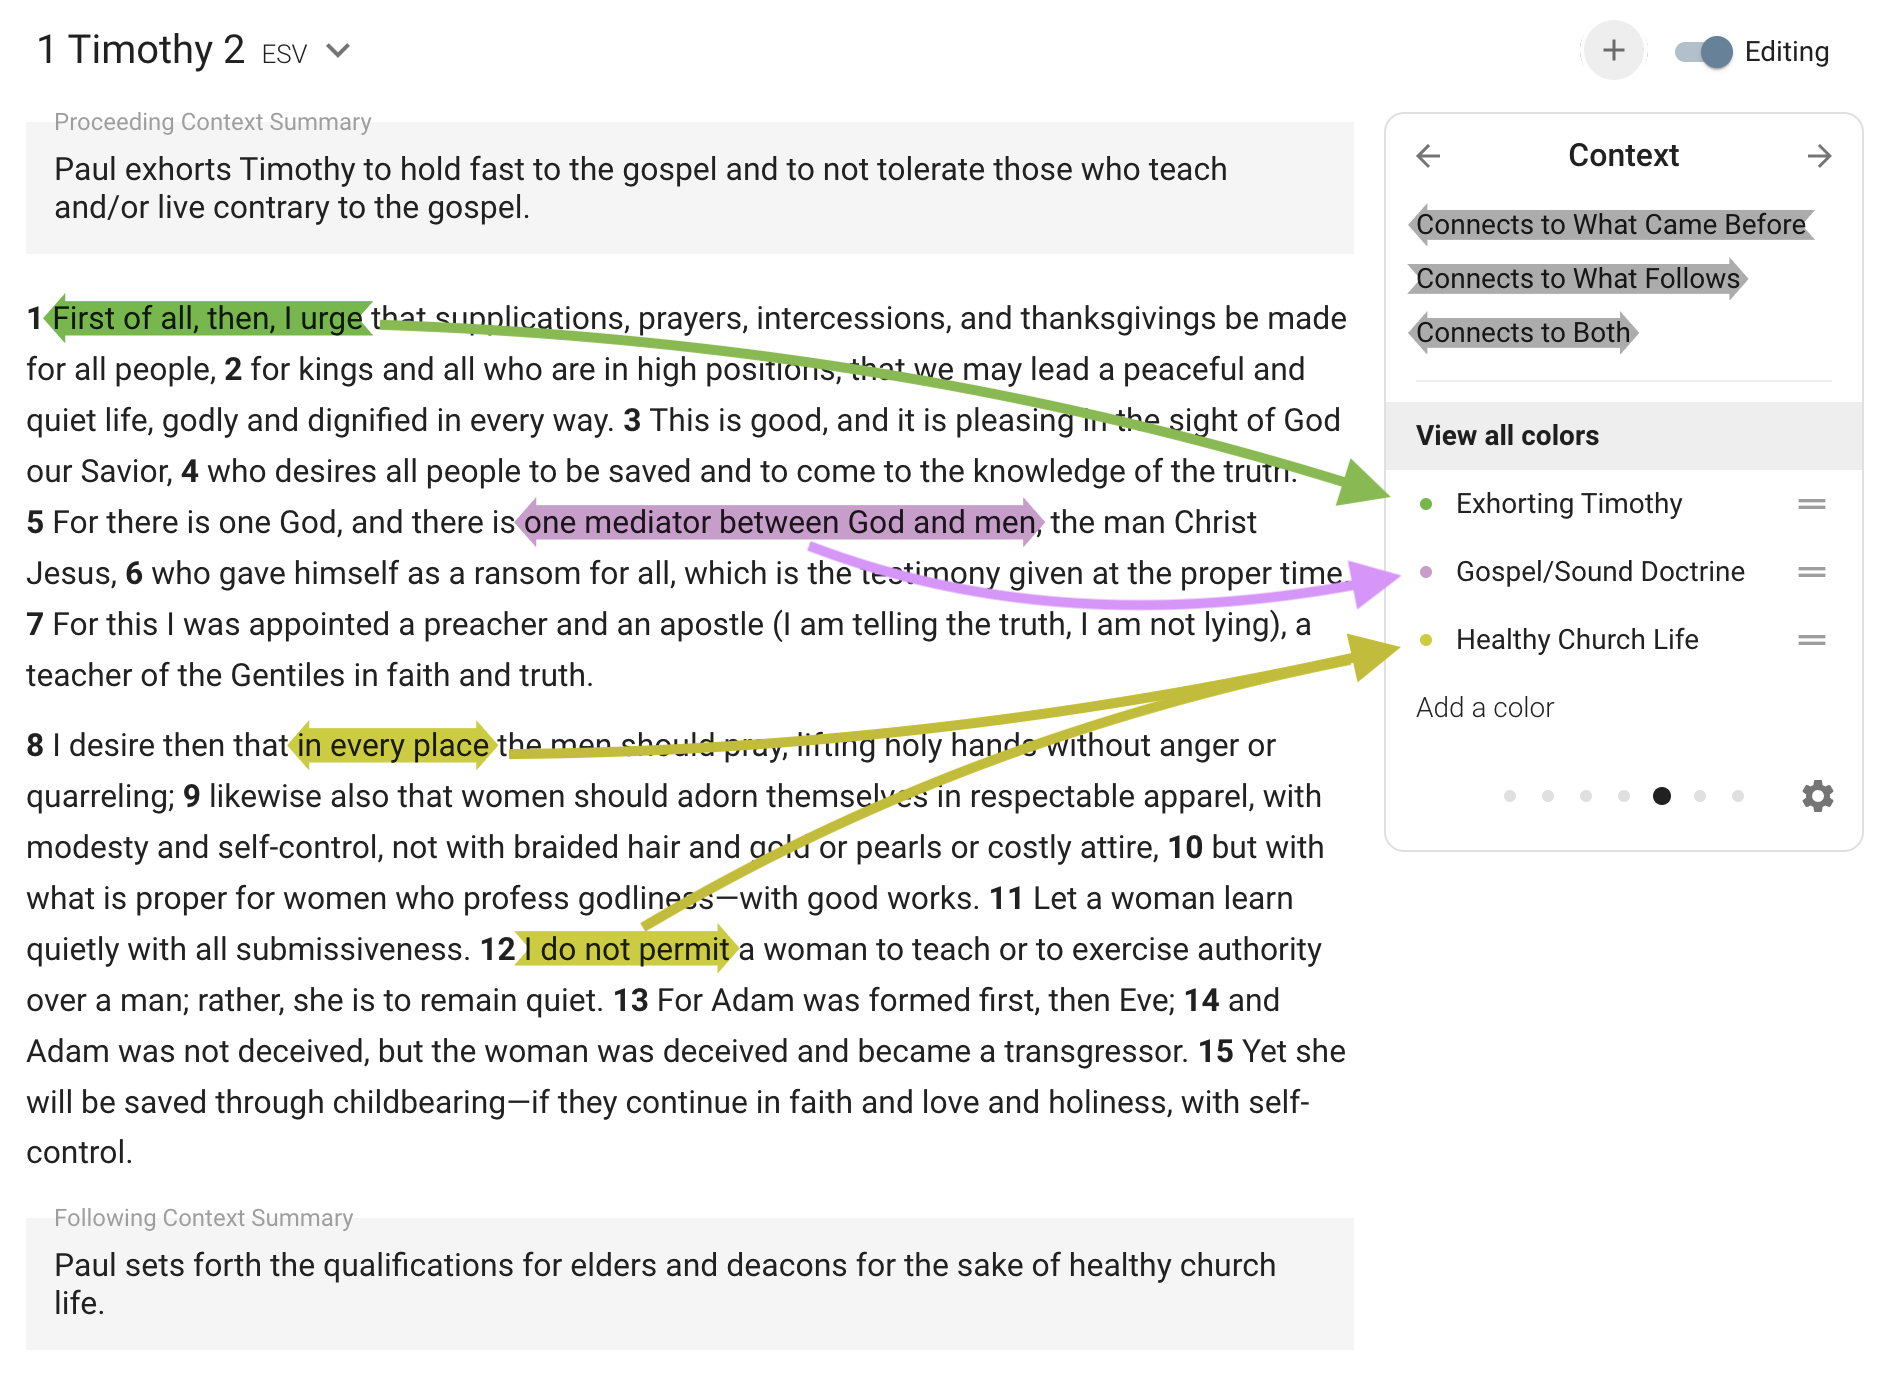
4. Highlight details related to surrounding context
- Identify phrases that connect to specific topics in the adjacent chapters.
- Identify themes that are developed across the whole book.
- Keep markups focused on the essential words or phrases. In the example below, all of vv. 4–6 unpacks the gospel. Yet I have only highlighted the phrase, “one mediator between God and man” as one of the core statements representative of the whole.
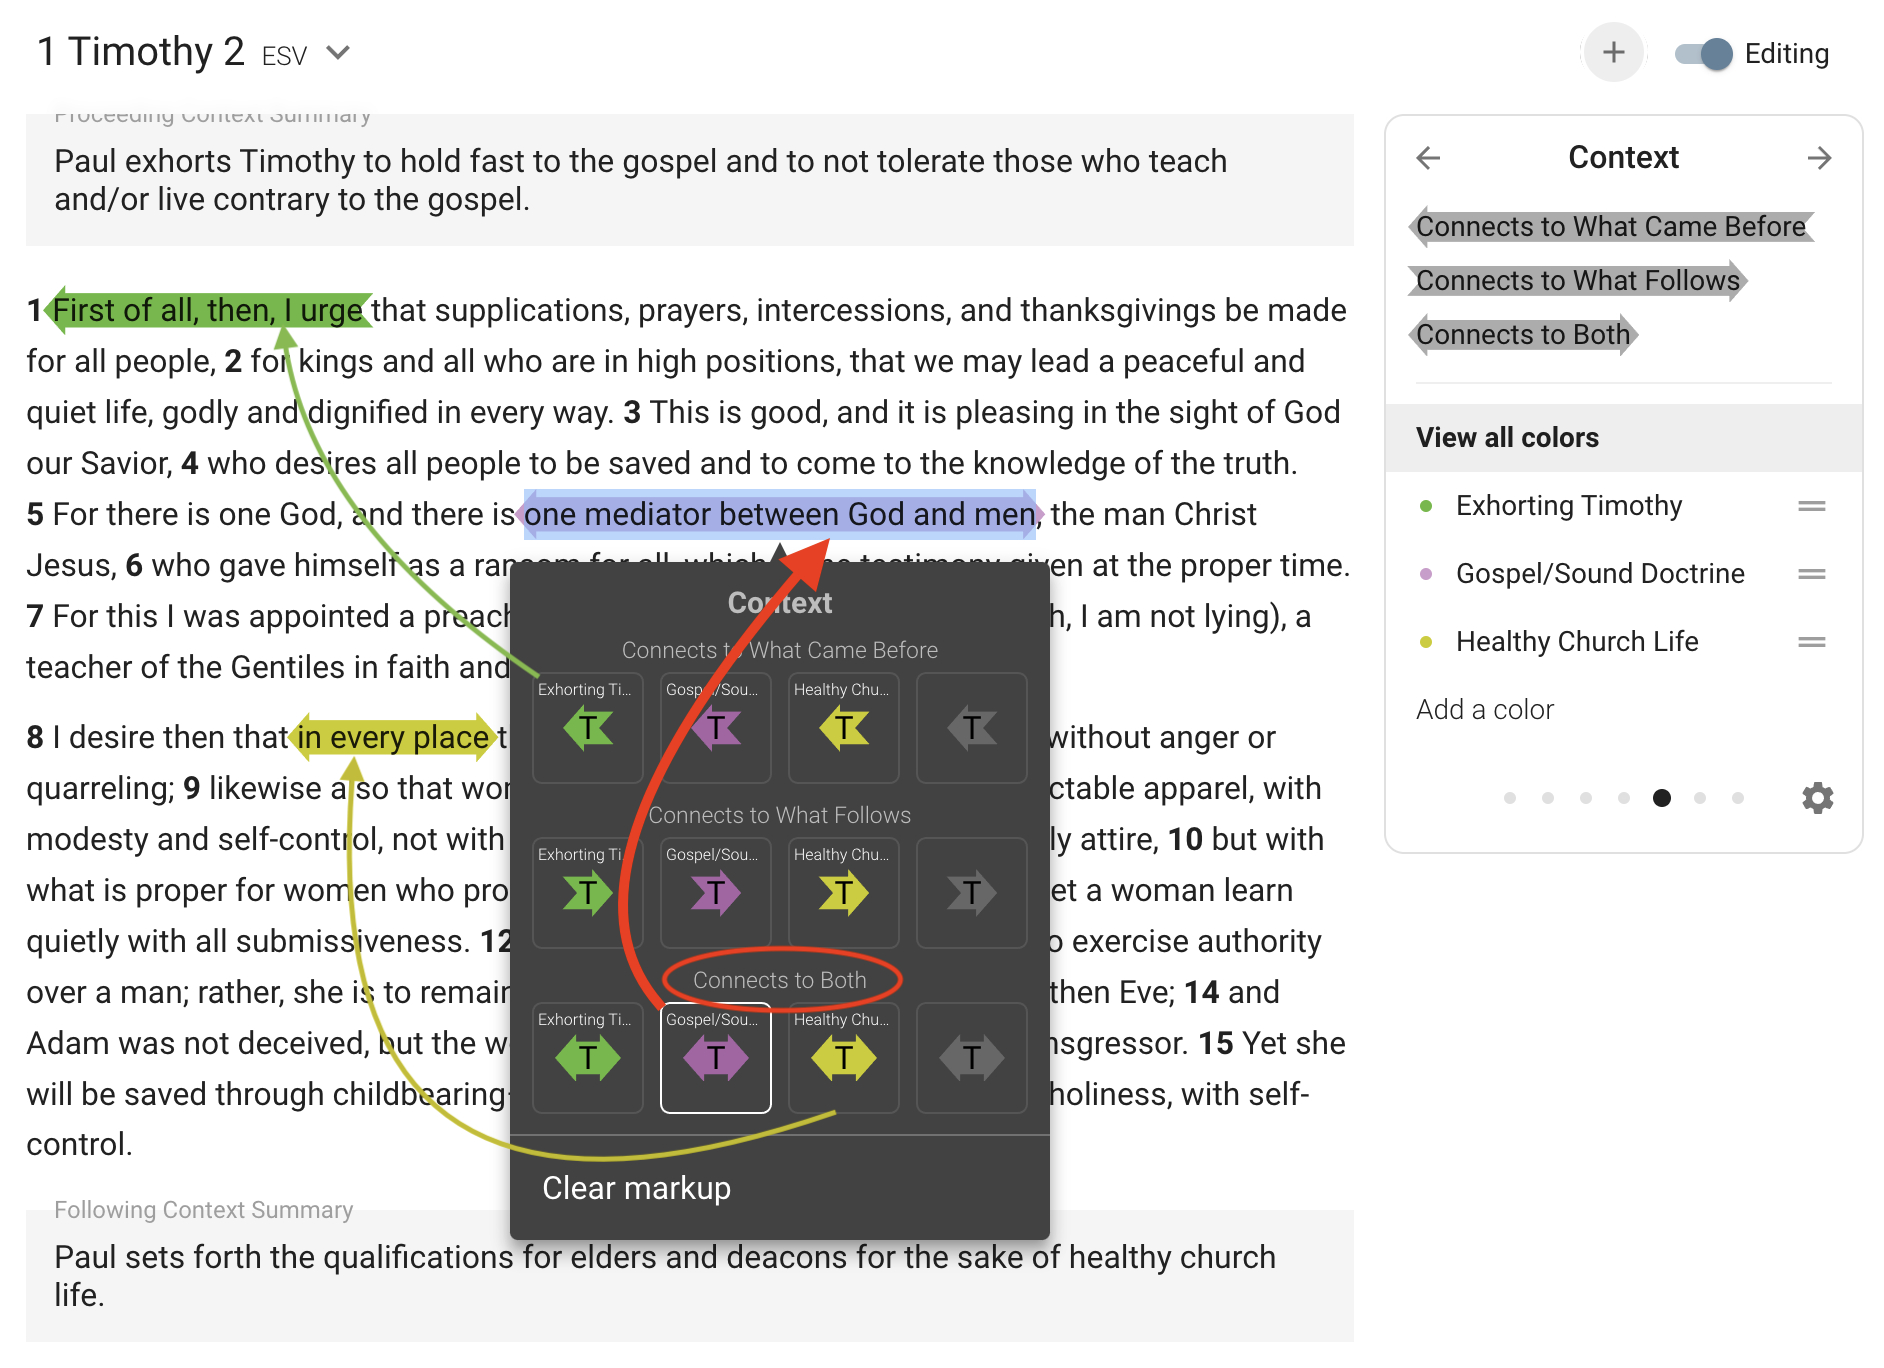
5. Add a succinct label for each color
- Use a key word from the topic or theme in the surrounding context.
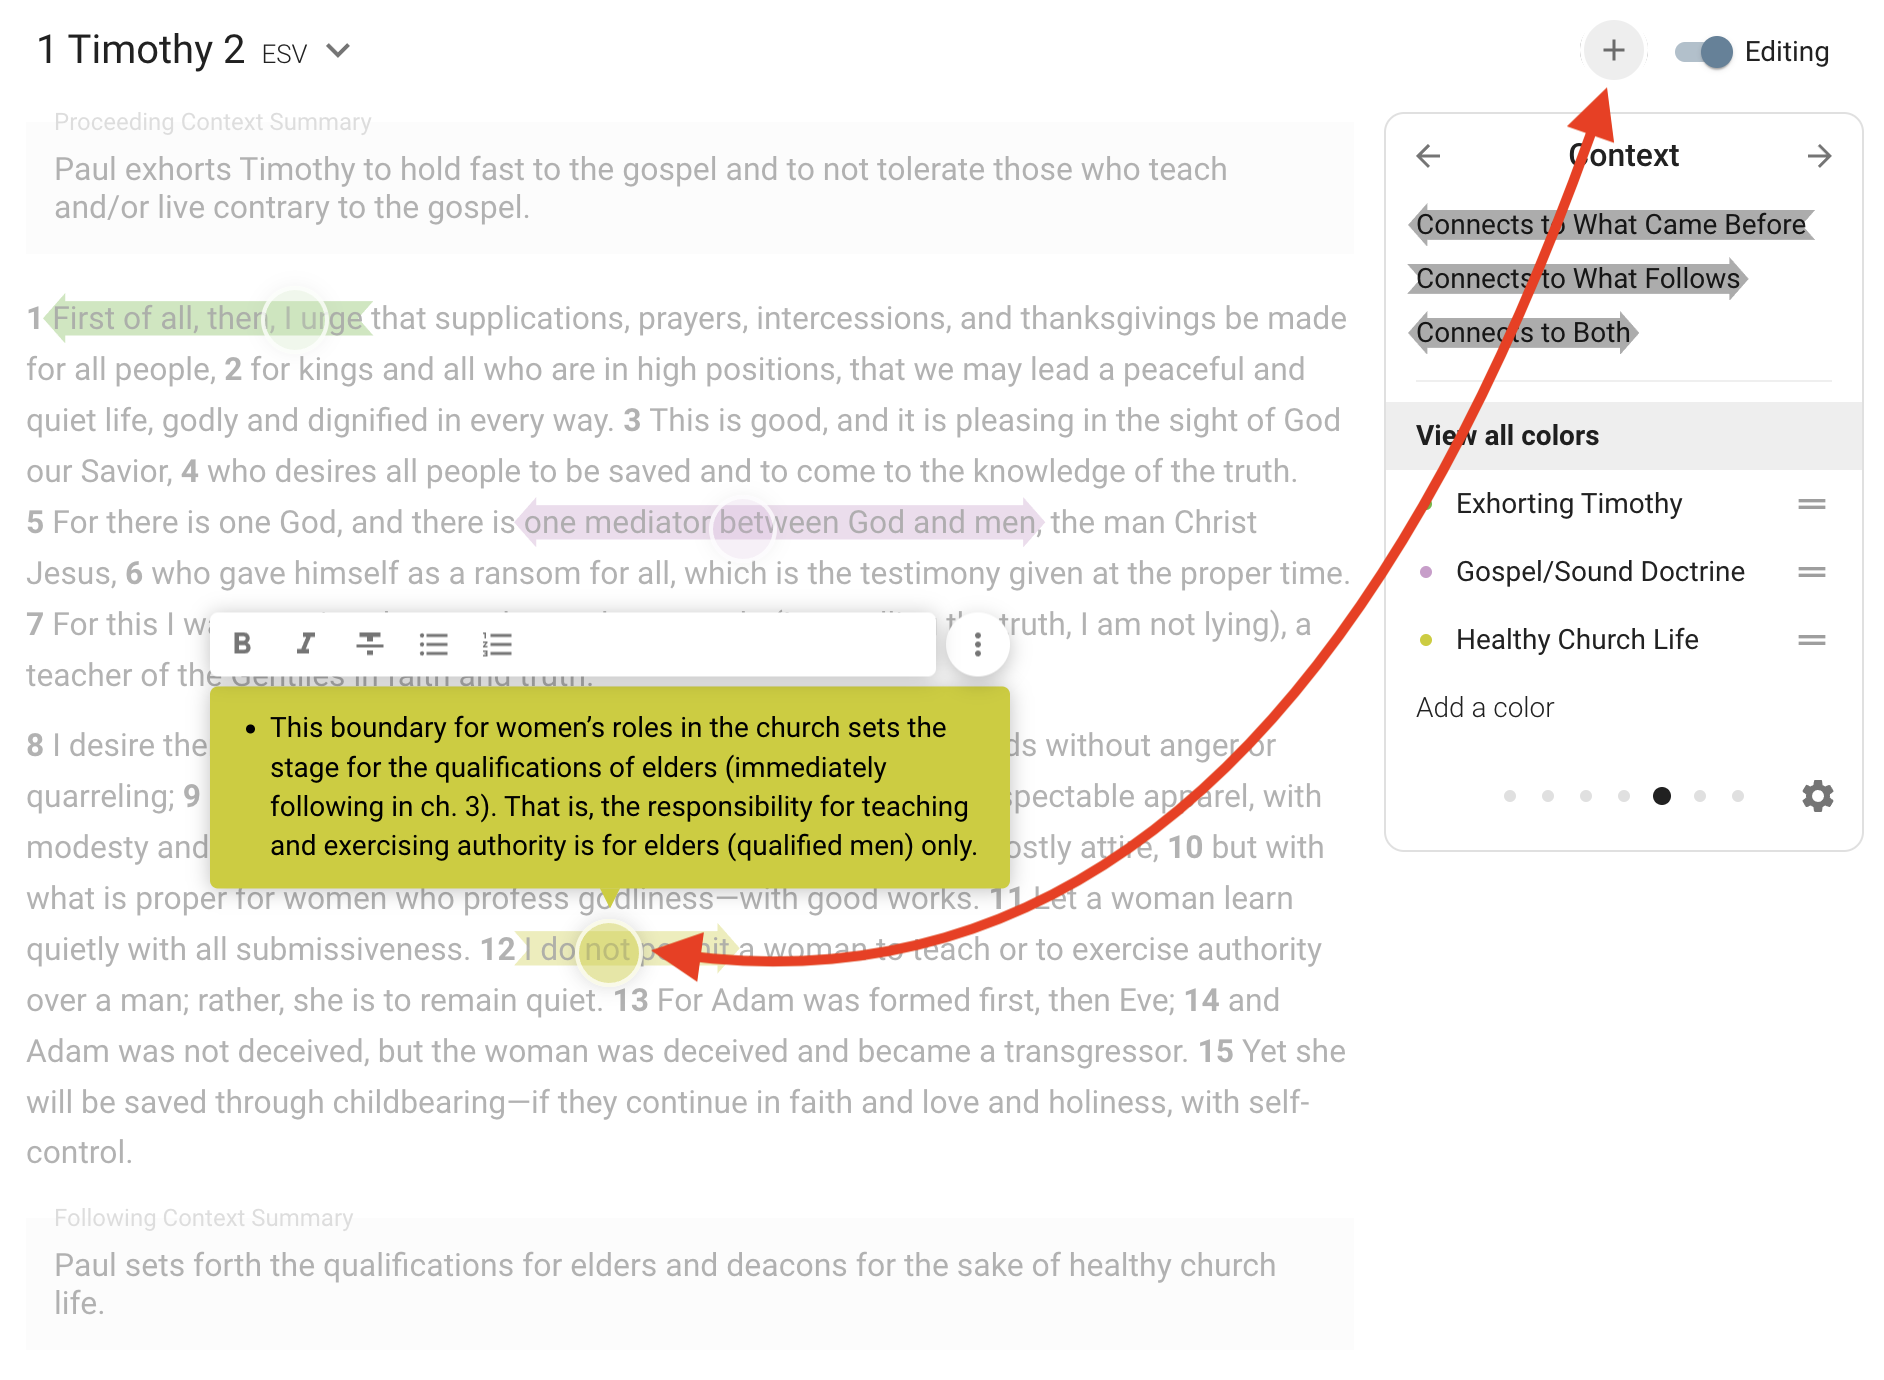
6. Use dot notes to record observations, questions, and other notes
- As always, every markup should contribute to at least one dot note.
- Be sure to identify the specific passage(s) from the surrounding context that this markup connects to.
- Describe how the present passage connects to the related context and/or fits within the whole-book themes.
Let’s practice...